| Document number | Revision |
|---|---|
| DOCU12306 | 1 |
Highstage Application Installation Guide
Highstage Application Installation GuideIntroductionPrerequisitesWindows Roles and FeaturesSearch servicesSQL ServerInstallationWelcome screenLicense agreementInstallation ParametersDatabase Connection ParametersTest website and run setup web page.Add binding for https.Install latest Highstage version.Upgrade ITHit WebDAV server
Introduction
This document contains a walkthrough of the installation process of Highstage. At the end of this process, you will have a working installation of Highstage ready for use.
Prerequisites
For Highstage Server Requirements and Recommendations, refer to document DOCU13188.
Windows Roles and Features
Make sure that basic Windows Server Roles and Feature has been set up.
This can be done by running the following PowerShell script:
x
InstallBasicWindowsFeatures.ps1Installation: InstallBasicWindowsFeatures.ps1 can be downloaded from here.
Search services
Prior to installation, make sure that the Windows search service is started.
- Click on start, go to Control panel.
- Open Administrative tools and open Services as an administrator.
- Navigate to Search services in the list and ensure that it is activated.
- If Search services is disabled - right click on the service and click on start.
SQL Server
- Create an empty Highstage database.
- Create an SQL account. The account is used for Highstage installation and for running the Highstage application. The account name used in screen shots below is: Highstage.
- Make sure that the SQL account has owner role (db_owner) of Highstage database.
Installation
- Download the Highstage installation file HighstageInstall.msi from SW10206.
- Once downloaded, run HighstageInstall.msi from the file destination.
Windows Defender SmartScreen might prevent you from running the installer. If so, click Run anyway to continue with the installation.
Welcome screen
When opening the installer, you are presented with the welcome screen:
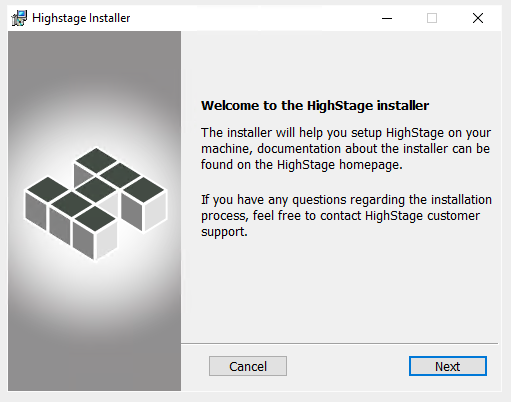
- Click Next to continue with the installation.
License agreement
You must accept our license agreement to continue with the installation:
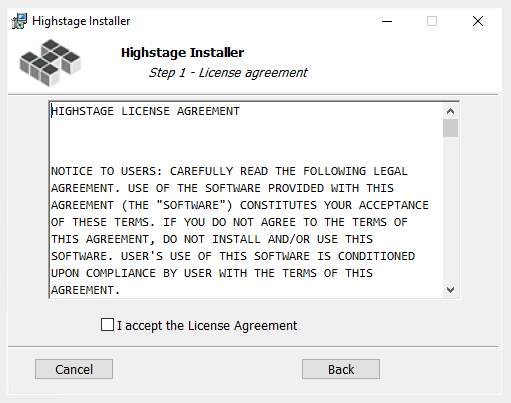
For any questions regarding the license agreement please contact Highstage support. Contact information can be found at www.highstage.dk/support.
- To continue with the installation, accept the agreement by checking I accept the License Agreement.
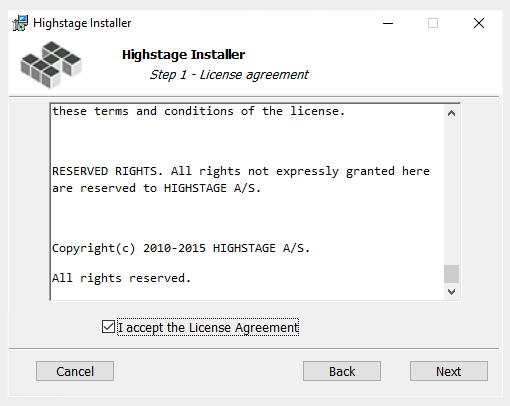
- Click Next to continue.
Installation Parameters
In this step, various paths to the Highstage web application must be specified:
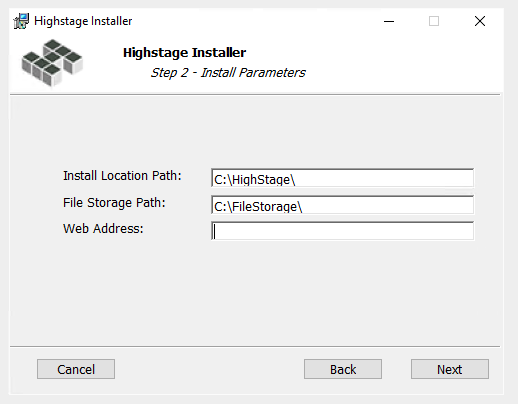
In the Install Location Path field, specify a destination for the Highstage web application to be installed. In the File Storage Path field, specify a destination for the associated files and documents to be managed by Highstage. All files that are accessed and managed through Highstage will be stored in this folder destination.
In the Web Address field, specify an appropriate web address to be used to access Highstage.

The Web Address can always be changed at a later point once Highstage is installed.
- click Next to continue.
Database Connection Parameters
Highstage needs to be connected to an existing MS-SQL Database.
In this step, you must specify the associated credentials for Highstage to connect to the existing MS-SQL Database:
If you do not have an existing MS-SQL Database and the associated credentials, please complete the necessary pre-installation procedures as introduced in the Prerequisites section.
Use SQL Authentication credentials (Mixed Mode)
By default, the authentication credentials for accessing the MS-SQL Database is using Windows Authentication.
By checking Use SQL Authentication credentials (Mixed Mode) - you enable SQL Server Authentication which alternatively requires valid SQL Admin username and password credentials:
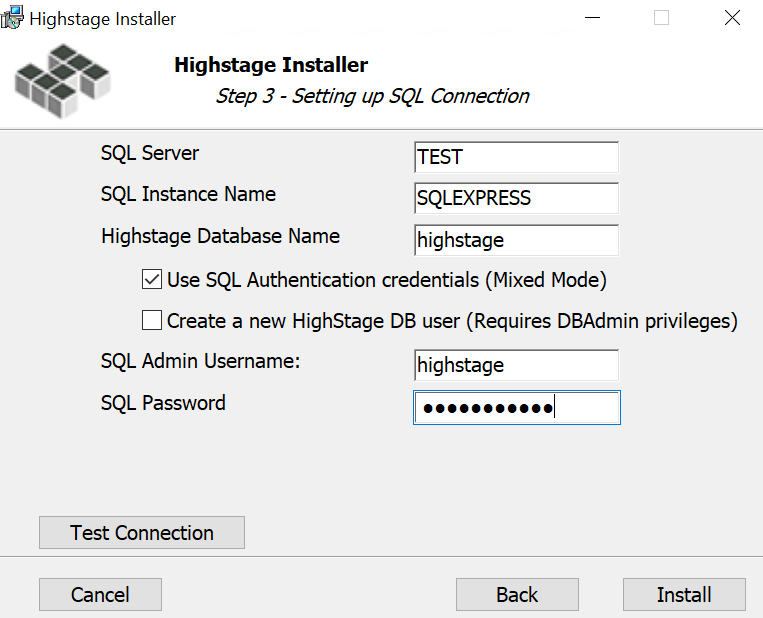
Once all information has been filled in, you can test the connection by clicking Test Connection.\ If successful, you can continue with the installation. If the test fails, please revise your credentials and retry the test until it is successful.
- Click Install to complete the installation.
Test website and run setup web page.
- Open browser and enter address of Highstage website ex http://highstage.company.net
- Run Highstage setup web page ex http://highstage.company.net/ts/ts/setup/setup.aspx
Add binding for https.
- Open Internet Information Services (IIS) Manager.
- Select Highstage website.
- Add a new binding for Type https and Host name like ex: company.net
- Test browse Highstage website.
Install latest Highstage version.
Install latest Highstage version from menu System /SupportServer /VersionHistory.
Upgrade ITHit WebDAV server
ITHit WebDAV server can be found here: https://www.turbostage.net/ts/ts/view.aspx?t=part&o=SC0065-2A
The basic Highstage setup is now complete.
